
Boot your USB
Coming this far, you have created your USB, if not, follow one of the guides below
Windows Guide
Walkthrough guide for Windows users
Linux Guide
Walkthrough guide for Linux users
Mac Guide
Walkthrough guide for Mac users
Boot your USB
Booting a computer with your newly created USB is rather simple, however... you may run into one or a few obstacles on the way. In most cases this will be solved rather quickly.
1) Start by turning off your computer
2) Plug in the USB thumbdrive where you just created the bootable eosio iso
3) During startup, before you see any login screen, you want to enter the boot menu. How you reach the boot menu differ depending on which motherboard and device you are using. On most occasions you will see which button to press in the bottom of the screen during startup. However this is not always the case.
Some motherboards allow for "fast boot up", then this screen will not be visible. Some don't show it at all, like Lenovo laptops, where you have a hidden button to press to reach the boot menu.
If you don't have time to read, you can start your computer and pressing either: esc, f8, f10, f11, f12 or del. As those buttons are commonly used to reach the boot menu or bios. If you don't want to test your way forward, you can simply take your devices serial number and go for a quick google. "*device* enter boot menu".
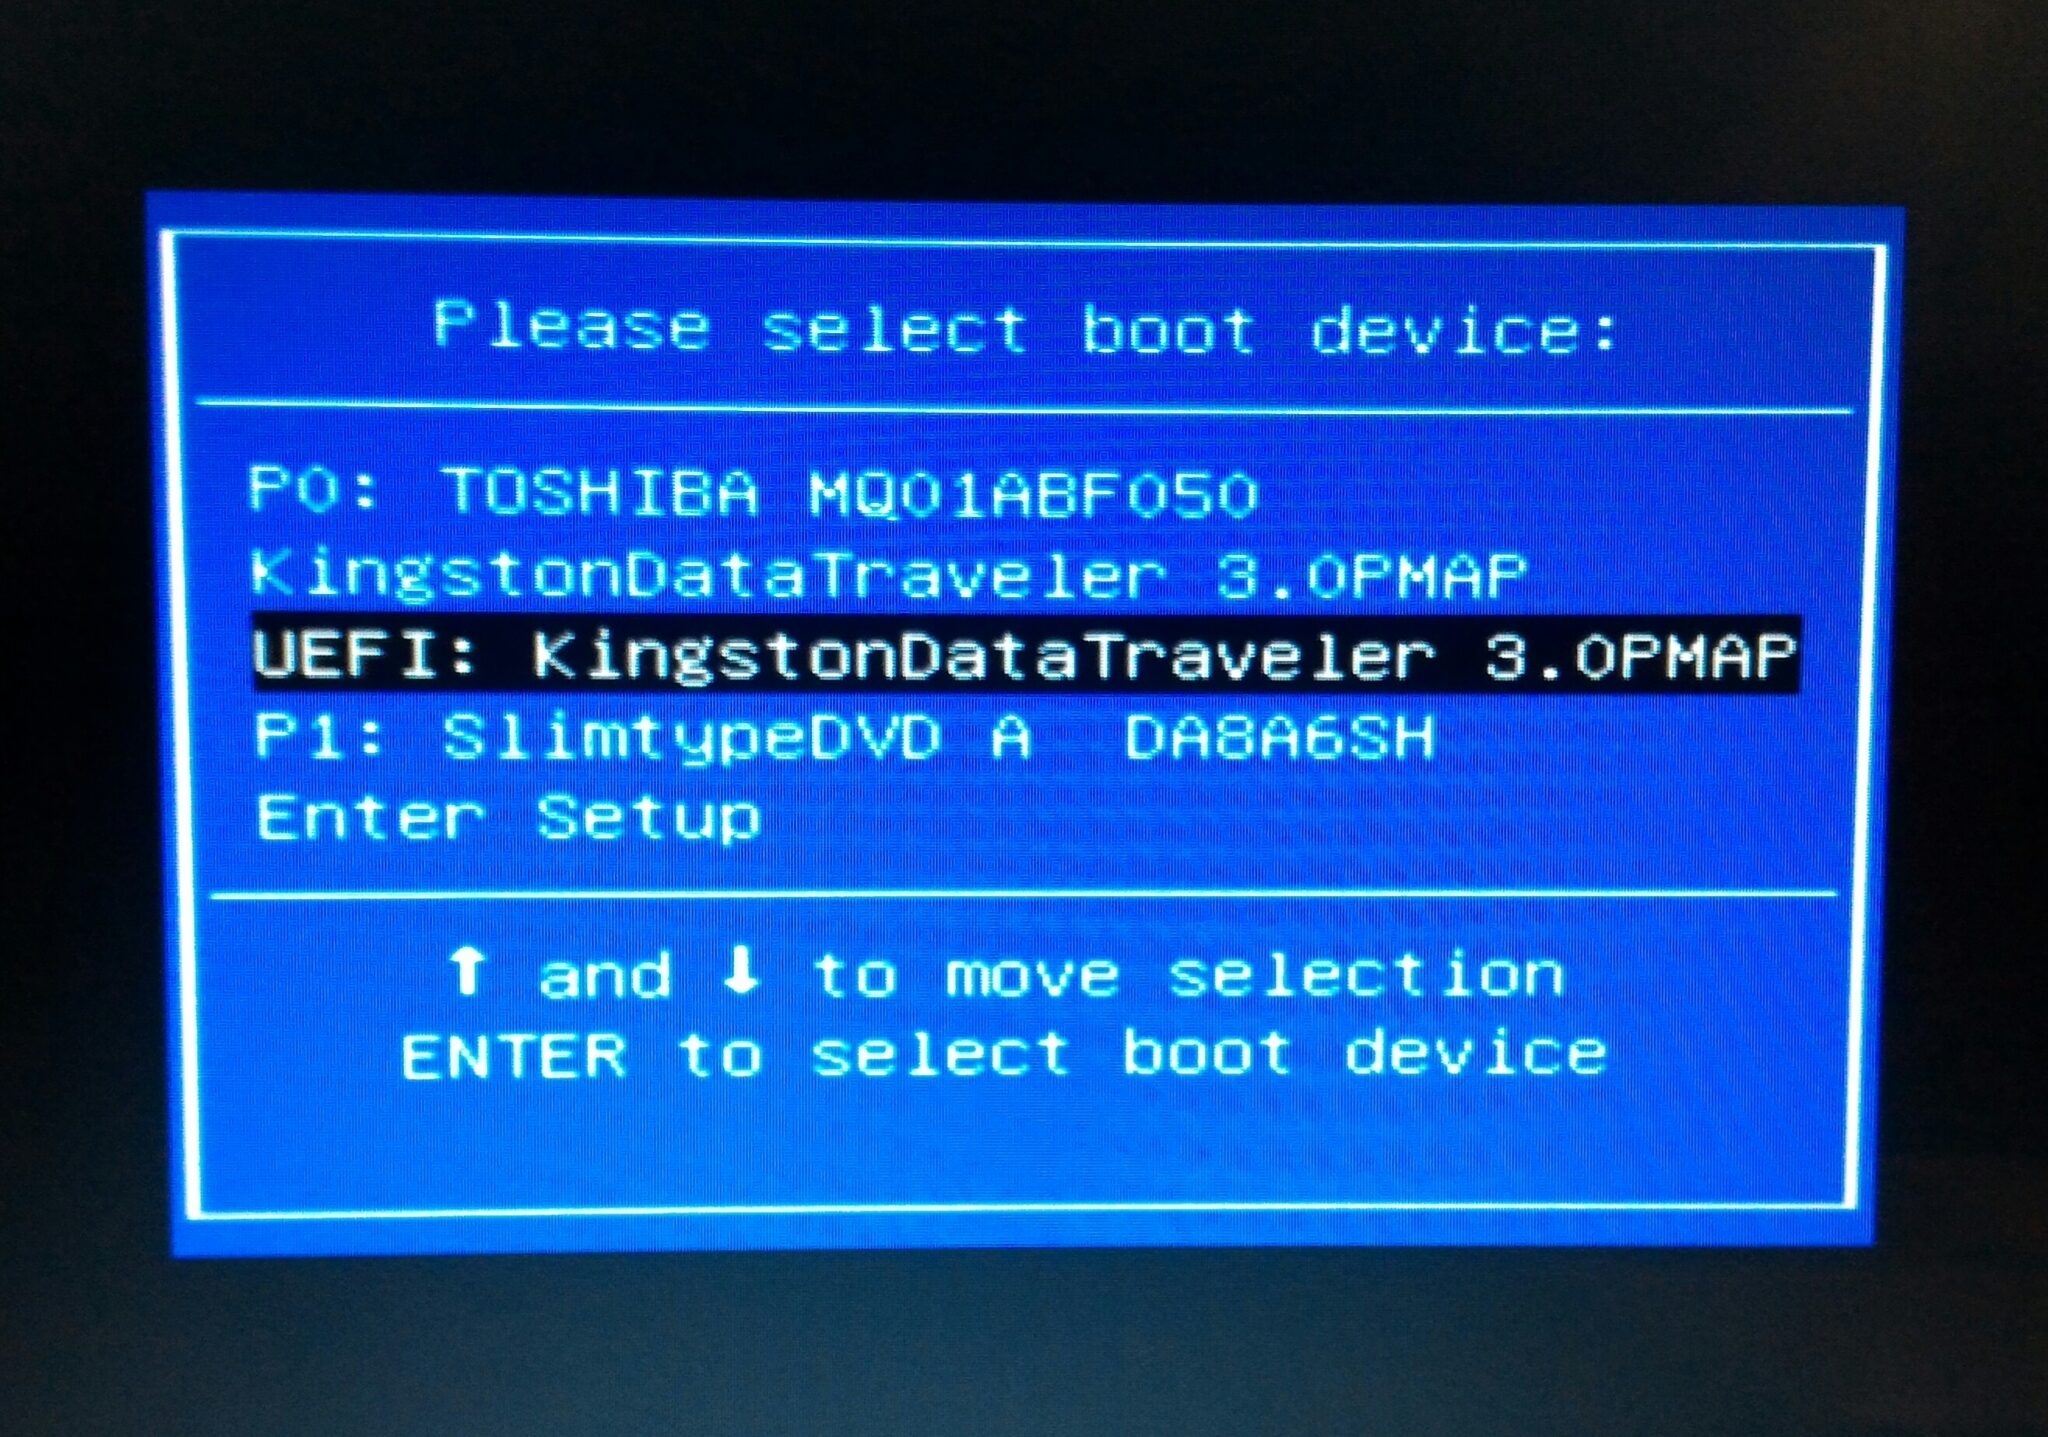
You boot menu will look like this, a list consistent of your choices of where to boot up your computer. If you can not see your USB in this list, that is because:
a) Your USB is not plugged in
b) You need to activate 'boot from USB' in Bios
c) Your USB is corrupt and you need to perform the last few steps again.
4) You can't find the USB in the boot menu
If this is the situation, you want to do a similar hit a key (those mentioned above) or perform a google search to find your way. When in bios you want to located the boot options and enable the USB setting.
If you need assistance with bios, google and youtube will be your friend.